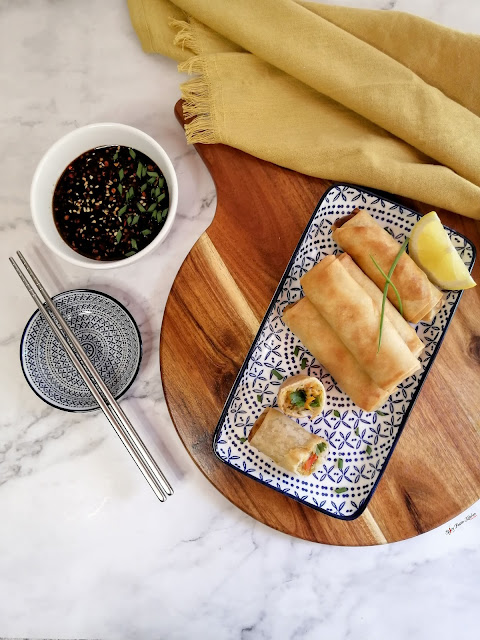
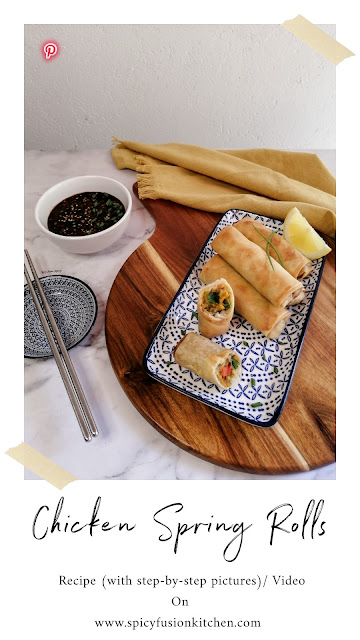
Chicken Spring Rolls
Saturday, March 26, 2022
Ah, it's that time of the year again, we're in the final countdown for Ramadan, and the food prep is in full swing for many.
While I have been sharing previous Ramadan Savoury recipes as my mum
and I make them, on my social media (so be sure to follow me on
Instagram
and/or
Facebook), it's been a while since I posted a savoury recipe on here.
I was always intimidated by spring rolls, yes, intimidated by spring rolls lol I had a fear they'd open up
when I fry them, and it was one of the savouries we used to purchase, instead of making our
own.
Last year, my Fatima Khala (Aunty) [my Lala] kindly sent me her recipe and even a video
of how she fills them.
Having tried it for the second time this year, with a few additions to her recipe, because it's me and I never always
stick to one version of a recipe, I decided to post my version of how I make my chicken spring
rolls.
Quick Note
Don't freak out when you see the method. It may seem like an extremely long complicated process, but I promise it's extremely easy and quick to make.
That being said I did share the method twice.
One with step-by-step pictures which are easy to follow along, and the second right afterwards is the same method, just minus the
pictures.
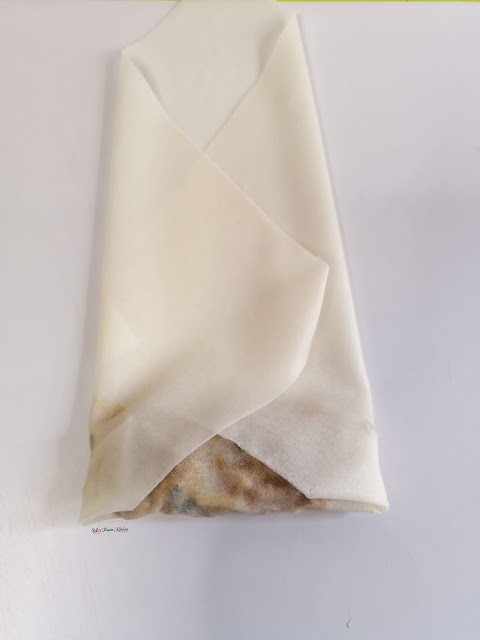
I try to do this so whoever is following my recipe has some extra visual
assistance to refer to when trying a new recipe, it's helpful if you're not sure if something looks right, or how exactly to fold a spring roll for example.
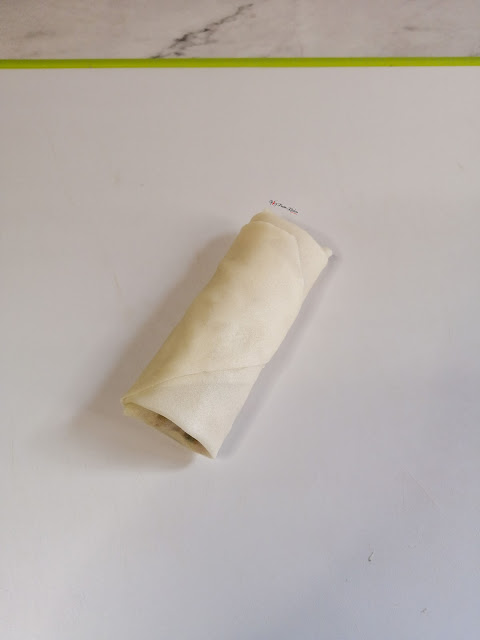
I also shared a collage of the filling process down below, which you can save and pin.
This is a great reference to have, especially if this is the first time you're making spring
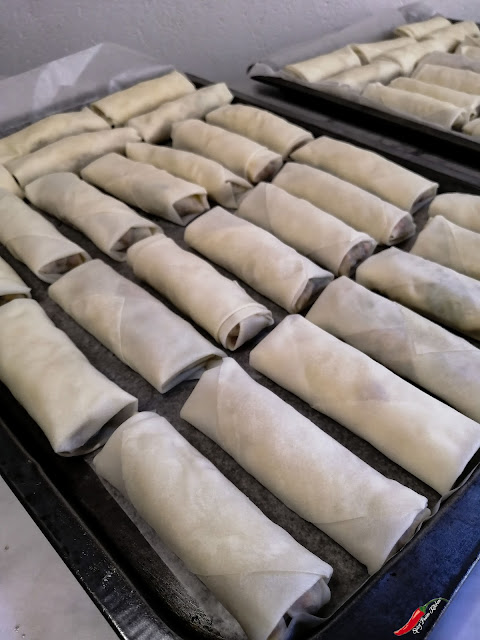
rolls.
Finally, remember this is for a Ramadan batch so the quantity is a
lot,
if you want to make just a few, you will have to adjust the
ingredients.
Recipe Yields Approximately 56 - 58
Tiktok Video - coming soon
INGREDIENTS
CHICKEN INGREDIENTS
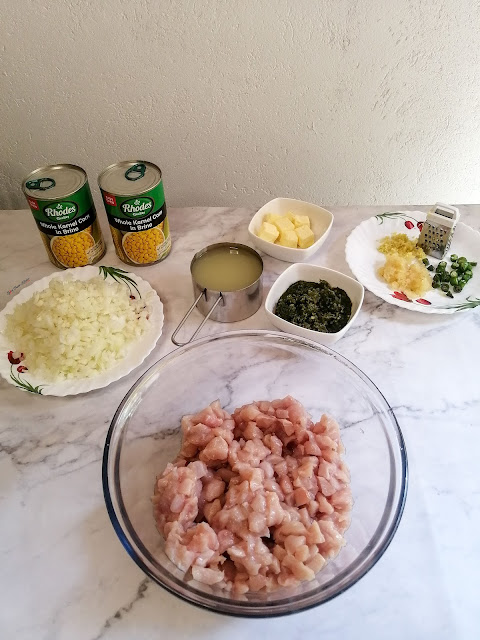
1 kg Cubed (small approximately 2cm) Chicken Fillet
3 - 4 Tbsp Green Chili Paste or Ground Green Chillies (adjust depending on
your heat preference)
1/2 Cup Lemon Juice
1 Tbsp Crushed Garlic
1 1/2 tsp Grated Ginger
2 - 3 Tbsp Butter (2 - 3 Tbsp Prefered Oil)
2 Chopped Fresh Green Chilies
1 tsp Crushed Garlic
2 Onions Diced Medium
1 Large Tin Whole Kernal Corn (240g - drained)
1 tsp Chinese 5 Spice Powder
1/2 tsp Black Pepper Powder
1/2 tsp Garlic Powder
4 - 5 Tbsp Soy Sauce
VEGETABLE STIRFRY INGREDIENTS
1 Cup Grated Carrots (2 Medium - Large Carrots)
1 Medium Sized Cabbage Shredded Finely
1 Cup Cubed Red Bell Peppers
1 Cup Cubed Green Bell Peppers
1/4 tsp Crushed Garlic
2 Tbsp Butter (or preferred oil)
Sprinkle of Salt (to taste - remember the soy sauce has salt)
1/4 tsp Freshly Cracked Pepper
1/4 tsp Red Chili Flakes
EXTRA INGREDIENTS
2 Cups Boiled Spaghetti (chopped with scissors into small strands) - Room
Temperature
1 1/2 Cups Thick Smooth White Sauce - Room Temperature
1 Cup Chopped Fresh Spring Onions
1 - 2 Cups Chopped Fresh Coriander
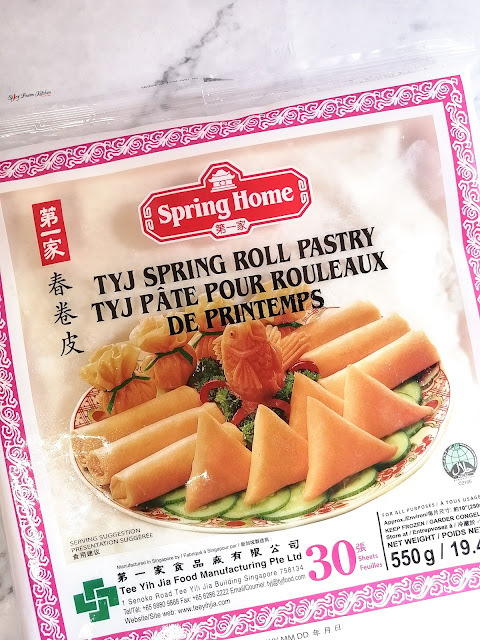
2 Packets Spring Roll Pastry (Total 60 Sheets)
SPRING ROLL GLUE INGREDIENTS
1/4 Cup Flour
4 - 5 Tbsp Water
IMPORTANT TIPS
- Store the sealed spring roll sheets in the fridge before using them. You can freeze the sealed packet, however, when you defrost them, still store it in the fridge. Remember once you open the packet, the sheets will dry out quickly - I explain what to do in the method to avoid that when you start to fill them.
- If you want, you can keep your cooked filling in the fridge overnight before filling the spring rolls the next day - which is something I do. This additional step allows all the flavours to fuse together, and I find it firms up the filling. If you want to do it this way, my suggestion would be to add in the thick white sauce, chopped spaghetti, and garnish the next day.
- If you're filling your spring rolls the day off, make sure the filling has cooled down before doing so. Letting it cool down in the fridge works faster (1 - 2 hours), and it will help firm up the filling. Now, this is very important, but also make sure the filling is not "watery". Remember wet/moist spring rolls crack when you fry them!
HOW TO FILL YOUR SPRING ROLLS
Here is an easy to follow picture collage on this process,
which you can easily save, and pin.
METHOD WITH STEP-BY-STEP PICTURES
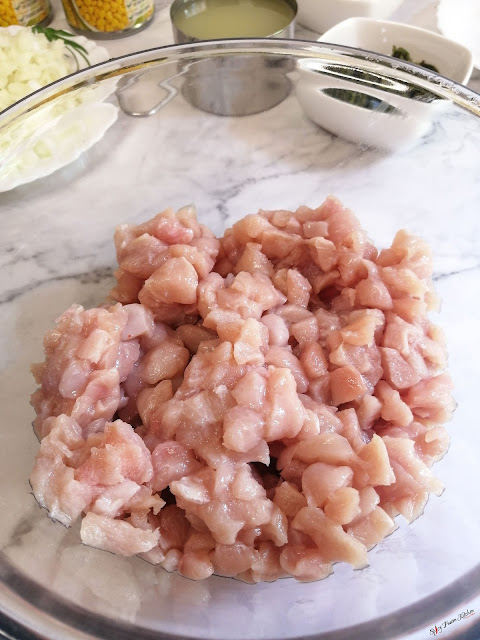
1. Prep your chicken fillets, by washing them and cutting them into
approximately 2cm cubes.
2. Next, marinate the cubed chicken with the green chilli paste/ground green
chillies, lemon juice, ginger, and garlic.
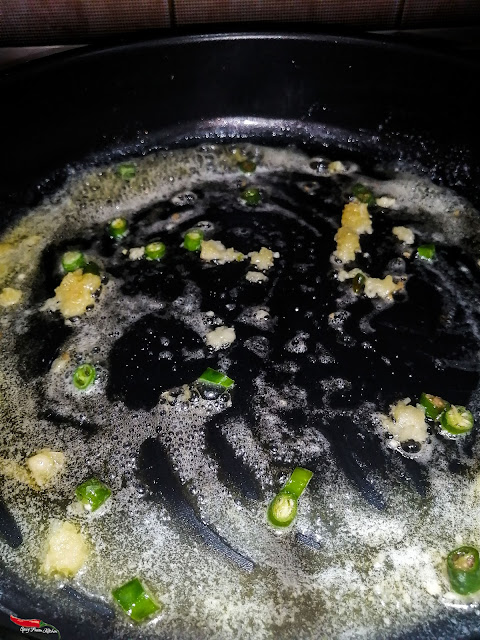
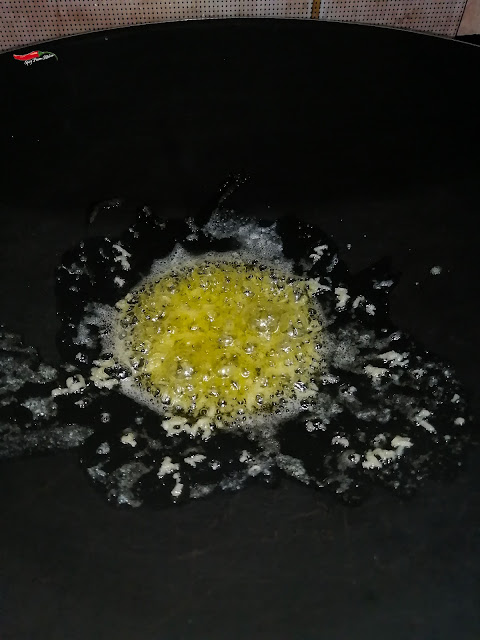
3. In a medium-sized pot (the wider the better), on high heat, add in the
butter, and once it starts to melt, spread it around before adding in the
garlic and chopped green chillies.
4. Let it saute for a minute, before adding in the marinated cubed chicken. Give it a quick stir and let
it cook for 2 - 3 minutes.
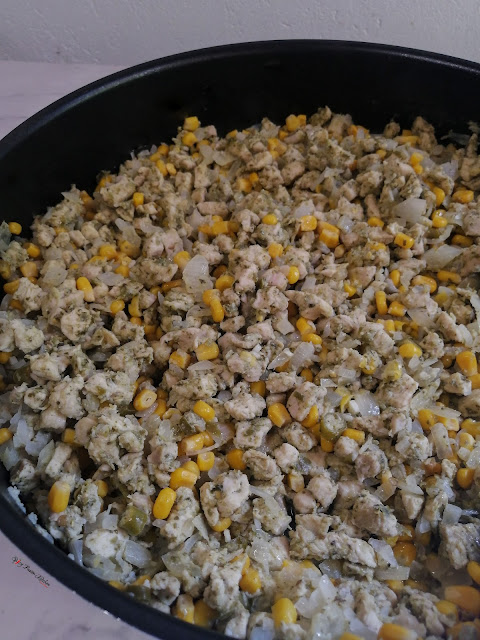
5. Next, add in the diced onions and drained whole kernel corn, and mix it
all together. Do not add any water. Close the lid, and leave it to
cook away for 15 minutes on medium heat. Such small cubes cook very
quickly.
6. As the chicken is cooking, on another burner heat up a wok on high, add
in the butter, and saute the garlic for 1 minute.
7. Next, add in the grated carrots, shredded cabbage, cubed peppers, giving
it all a quick toss.
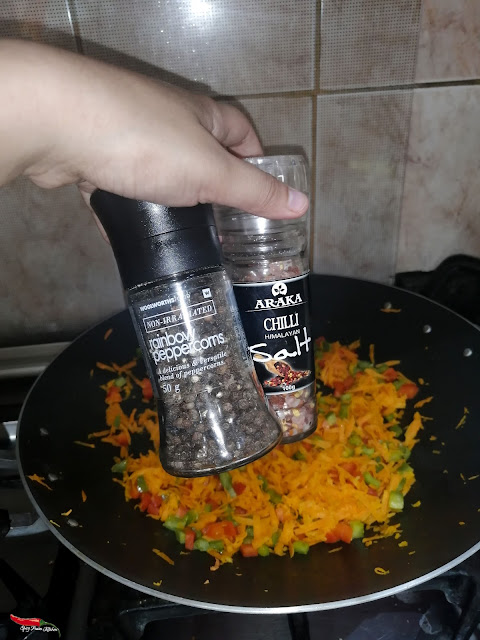
8. After 1 - 2 minutes, turn down the heat to medium, season with salt,
freshly cracked black pepper and red chilli flakes. There's no soy sauce for the vegetables because there's a lot that gets added to the chicken.
9. Continue stirfrying the vegetables for another 5 minutes until they are
soft, before removing off from the heat, and leave it to cool
down.
10. Once the chicken has cooked, make sure the liquid has dried out, again
do not overcook the chicken or add any water. If it's done remove it from
the heat.
11. Immediately to the chicken; add in the Chinese 5 spice powder, soy
sauce, garlic powder, black pepper powder, and salt (depending on the
taste).
12. Next, mix in your stirfried vegetables.
13. While the filling is cooling down, add the cut boiled spaghetti (which
should not be too soft).
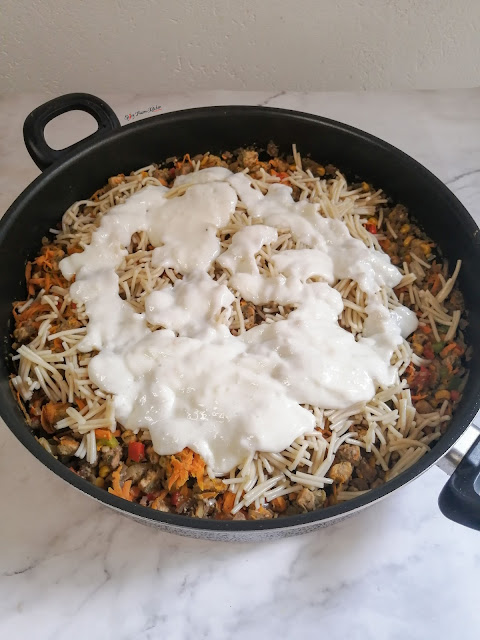
14. Next, add 1 1/2 cups of the smooth and thick white sauce to the
filling, and mix it all together really well.
15. Finally, you're at the end of preparing the filling, once it's at room
temperature (a faster way to cool down your filling is by placing it in the
fridge for 1 - 2 hours), add in the chopped spring onions and coriander, and
give it one final mix.
16. This isn't a step this is how your filling should look when you're ready to
fill your spring rolls. The filling won't be extremely dry, however, the thick white sauce will
hold it together, and again it should not be "watery". Remember if the filling is watery, it will crack when you fry the spring
rolls.
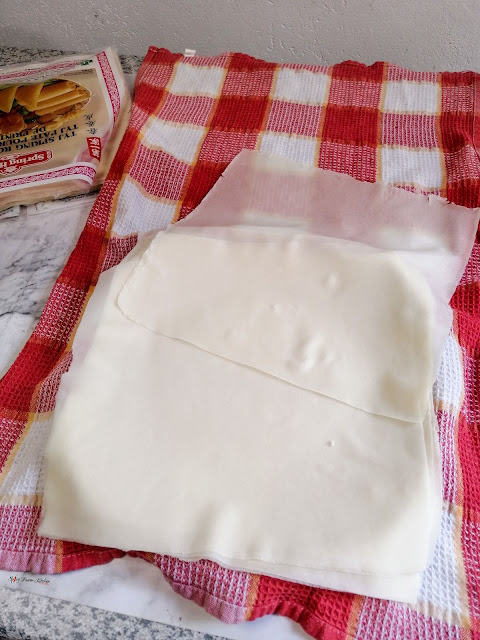
17. Now it's time to prep your spring roll sheets. Take a clean dish towel
and dampen it (it should not be dripping wet). Gently start to separate each
sheet from one another placing them on half of the dishtowel, you can layer
them on each other, they won't restick.
18. Cover the stacked separated sheets with the other half of the damped
dish towel.
19. Now it's time to fill them, the sheets I was using were a bit large, so
with the square sheet in front of me, I cut a strip of approximately 2cm in
width from the left side and another 2cm width across the top - making the
square a bit smaller, I only made those 2 cuts. You may or may not need to cut the sheet depending on your
preference. I did not waste the cutouts,
click here
to see how I turned them into a snack).
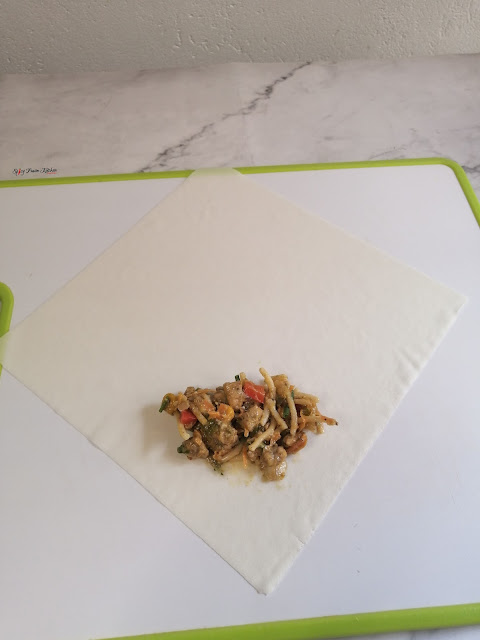
20. Turn the spring roll sheet diagonally (one corner should face you).
Take 1 heaped serving tablespoon of the filling and place it a little bit above the corner on the spring roll
sheet.
21. Next, hold the corner that's facing you and bring it over the filling,
and using your fingers made sure it's secured down against the
filling.
22. Then take the right side corner and bring it over your filling,
followed by the left side. Make sure the sides are nicely tucked, neat and
secure.
23. You should be left with just a long strip of your spring roll, begin to
roll it towards the top corner.
24. Just before the final two rolls, lightly spread the spring roll glue
(mix the flour and water into a semi-thick paste) all over the leftover strip till the corner, and roll the spring roll until it's closed. The spring
roll glue will ensure it doesn't open while it's being fried.
25. Place your rolled spring roll onto a lined baking tray, you can place
another lightly damped dish towel over your finished spring rolls so they
don't dry out as you fill the rest.
26. Continue the process till all your spring rolls are filled.
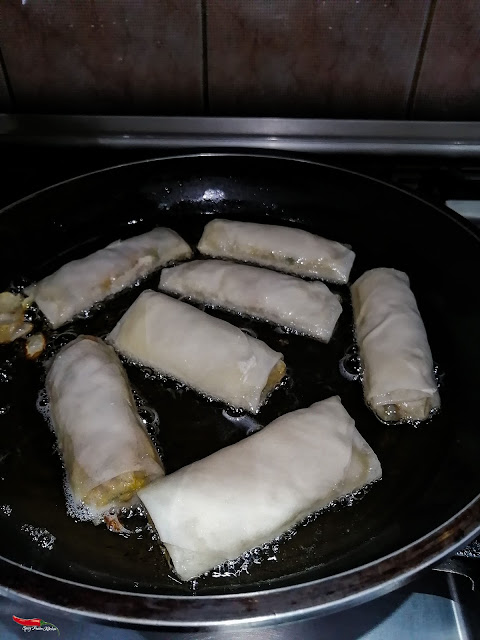
27. Place them in an airtight container if you want to freeze them. If you
plan on frying them, the amount of oil depends on how many you want to fry.
I personally like frying mine in shallow oil, so it's not deep-fried. I heat
up the oil on medium/high heat for 1 - 2 minutes till it gets hot before I
place the spring rolls in the oil. Do not overcrowd them, and continue to
turn them around as they're frying. Remember, because the filling is cooked,
once they're golden, you can remove them from the oil, let them drain on a
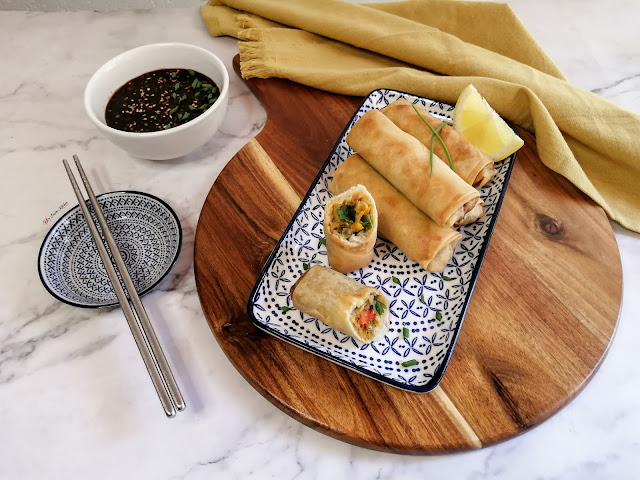
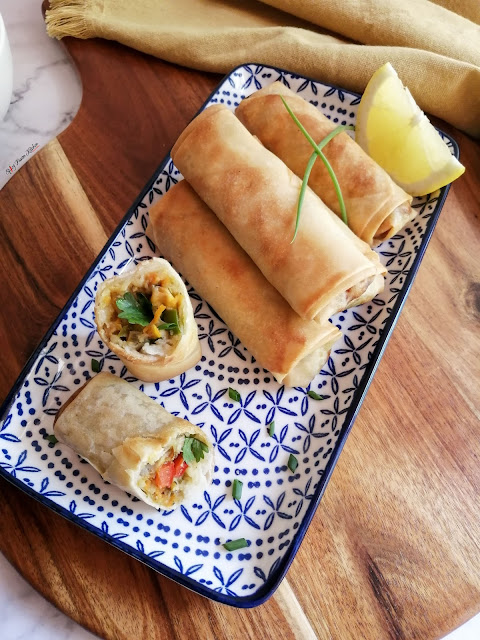
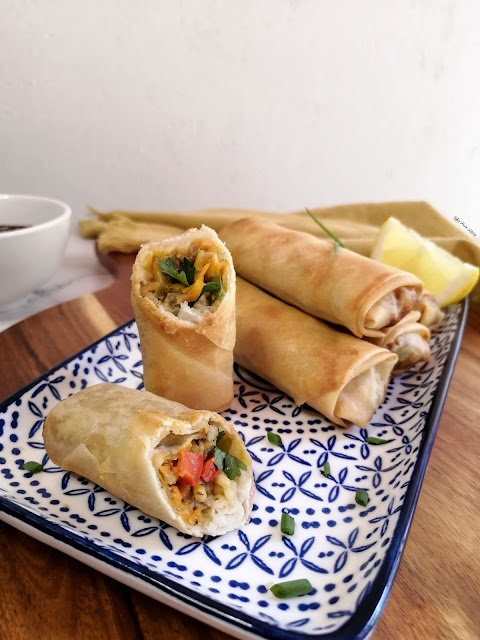
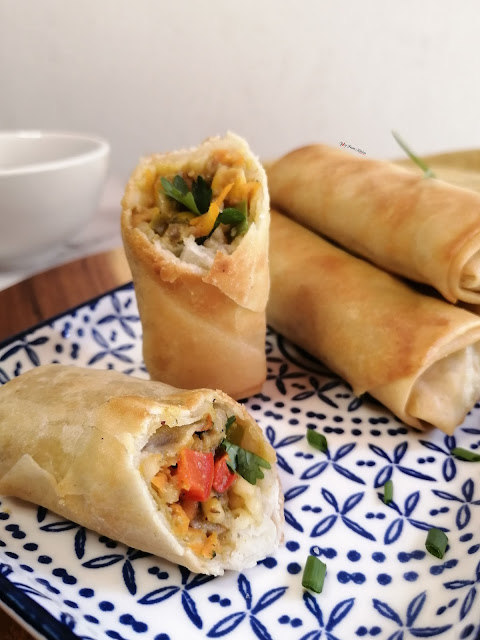
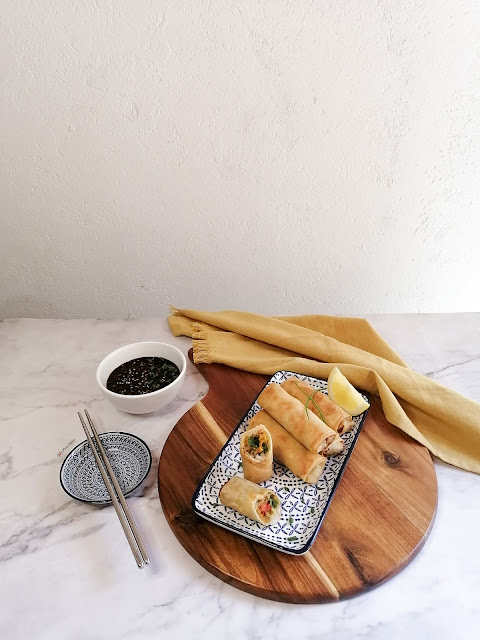
paper towel, and enjoy with a sweet and spicy dipping sauce (recipe here).
METHOD WITHOUT PICTURES
- Prep your chicken fillets, by washing them and cutting them into approximately 2cm cubes.
- Next, marinate the cubed chicken with the green chilli paste/ground green chillies, lemon juice, ginger, and garlic.
- In a medium-sized pot (the wider the better), on high heat, add in the butter, and once it starts to melt, spread it around before adding in the garlic and chopped green chillies.
- Let it saute for a minute, before adding in the marinated cubed chicken. Give it a quick stir and let it cook for 2 - 3 minutes.
- Next, add in the diced onions and drained whole kernel corn, and mix it all together. Do not add any water. Close the lid, and leave it to cook away for 15 minutes on medium heat. Such small cubes cook very quickly.
- As the chicken is cooking, on another burner heat up a wok on high, add in the butter, and saute the garlic for 1 minute.
- Next, add in the grated carrots, shredded cabbage, cubed peppers, giving it all a quick toss.
- After 1 - 2 minutes, turn down the heat to medium, season with salt, freshly cracked black pepper and red chilli flakes. There's no soy sauce for the vegetables because there's a lot that gets added to the chicken.
- Continue stirfrying the vegetables for another 5 minutes until they are soft, before removing off from the heat, and leave it to cool down.
- Once the chicken has cooked, make sure the liquid has dried out, again do not overcook the chicken or add any water. If it's done remove it from the heat.
- Immediately to the chicken; add in the Chinese 5 spice powder, soy sauce, garlic powder, black pepper powder, and salt (depending on the taste).
- Next, mix in your stirfried vegetables.
- While the filling is cooling down, add the cut boiled spaghetti (which should not be too soft).
- Next, add 1 1/2 cups of the smooth and thick white sauce to the filling, and mix it all together really well.
- Finally, you're at the end of preparing the filling, once it's at room temperature, (a faster way to cool down your filling is by placing it in the fridge for 1 - 2 hours) add in the chopped spring onions and coriander and give it one final mix. Your filling won't be extremely dry, however, the thick white sauce will hold it together, and again it should not be "watery".
- Now it's time to prep your spring roll sheets. Take a clean dish towel and dampen it (it should not be dripping wet). Gently start to separate each sheet from one another placing them on half of the dishtowel, you can layer them on each other, they won't restick.
- Cover the stacked separated sheets with the other half of the damped dish towel.
- Now it's time to fill them, the sheets I was using were a bit large, so with the square sheet in front of me, I cut a strip of approximately 2cm in width from the left side and another 2cm width across the top - making the square a bit smaller, I only made those 2 cuts. You may or may not need to cut the sheet depending on your preference. I did not waste the cutouts, click here to see how I turned them into a snack).
- Turn the spring roll sheet diagonally (one corner should face you). Take 1 heaped serving tablespoon of the filling and place it a little bit above the corner on the spring roll sheet.
- Next, hold the corner that's facing you and bring it over the filling, and using your fingers made sure it's secure down against the filling.
- Then take the right side corner and bring it over your filling, followed by the left side. Make sure the sides are nicely tucked, neat, and secure.
- You should be left with just a long strip of your spring roll, begin to roll it towards the top corner.
- Just before the final two rolls, lightly spread the spring roll glue (mix the flour and water into a semi-thick paste), over the leftover strip till the corner, and roll the spring roll until it's closed. The spring roll glue will ensure it doesn't open while it's being fried.
- Place your rolled spring roll onto a lined baking tray, you can place another lightly damped dish towel over your finished spring rolls so they don't dry out as you fill the rest.
- Continue the process till all your spring rolls are filled.
- Place them in an airtight container if you want to freeze them. If you plan on frying them, the amount of oil depends on how many you want to fry. I personally like frying mine in shallow oil, so it's not deep-fried. I heat up the oil on medium/high heat for 1 - 2 minutes till it gets hot before I place the spring rolls in the oil. Do not overcrowd them, and continue to turn them around as they're frying. Remember, because the filling is cooked, once they're golden, you can remove them from the oil, let them drain on a paper towel, and enjoy with a sweet and spicy dipping sauce (recipe here).
PIN IT
It is so easy to pin a recipe you like right onto your Pinterest
boards.
Simply click on the picture, and it will automatically open up to your
Pinterest
where you can save the image and recipe link to any board.
I hope you enjoyed this
Chicken Spring Roll recipe.
As I mentioned, I know the method
may seem like a lot but,
it's actually super easy
and quick to make.
For those that are making spring rolls the first time,
I hope you found the step-by-step pictures easy to follow along with.
- RAMADAN SAVOURY SERIES -
Be sure to check out my social media,
I share a lot of the behind-the-scenes, recipes, videos, and
more:























.jpg)


8 comments
Oh yummy this pictures are making my mouth water! I've been looking for a lunch recipe idea and I think I just found it - thank you for sharing!
ReplyDeleteYou're welcome! It's definitely quite filling and a life saver if you make extra for days you don't know what to eat Hope you enjoy it!
DeleteThis is defenitely going onto my party food list! Thank you.
ReplyDeleteYou're welcome! Definitely a great party food option.
DeleteI love all the step by step photos - so helpful. Will be making this ASAP.
ReplyDeleteI'm glad you find the step-by-step photos helpful, I really wanted to make this recipe easy to follow along. I do hope you get to make it and you enjoy it to!
DeleteYUM! Would love to see a vegan version of this. But I might try it just with some substitutes.
ReplyDeleteI've actually never tried a vegan version of my spring roll recipe before, that's my next attempt. I would think tofu would be a great substantial filling if you don't use chicken, and you just have a few different steps. Thank you for suggesting that, will look into it.
Delete